
How to Review and Edit Your Revelana Website and Get it Ready to Launch
STEP-BY-Step tutorial
Watch this video to see the basics on how to customize your website, and what you need to do to go live, or follow the steps below!
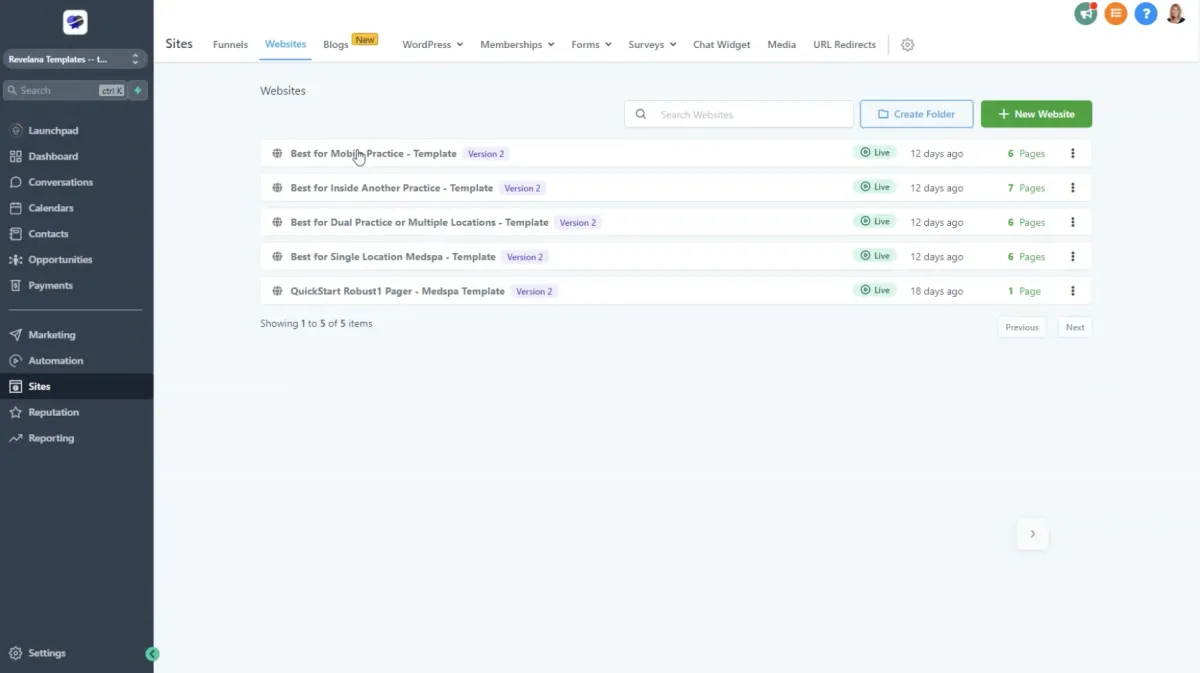
Step 1
Start setting up your site
Under the "Sites" tab, you'll find your website. Pick one of the templates out of the options based on which matches your practice best!
Step 2
Customizing your nav and editor
You'll need to upload your own logo, customize your colors and typography, and style to match your branding.
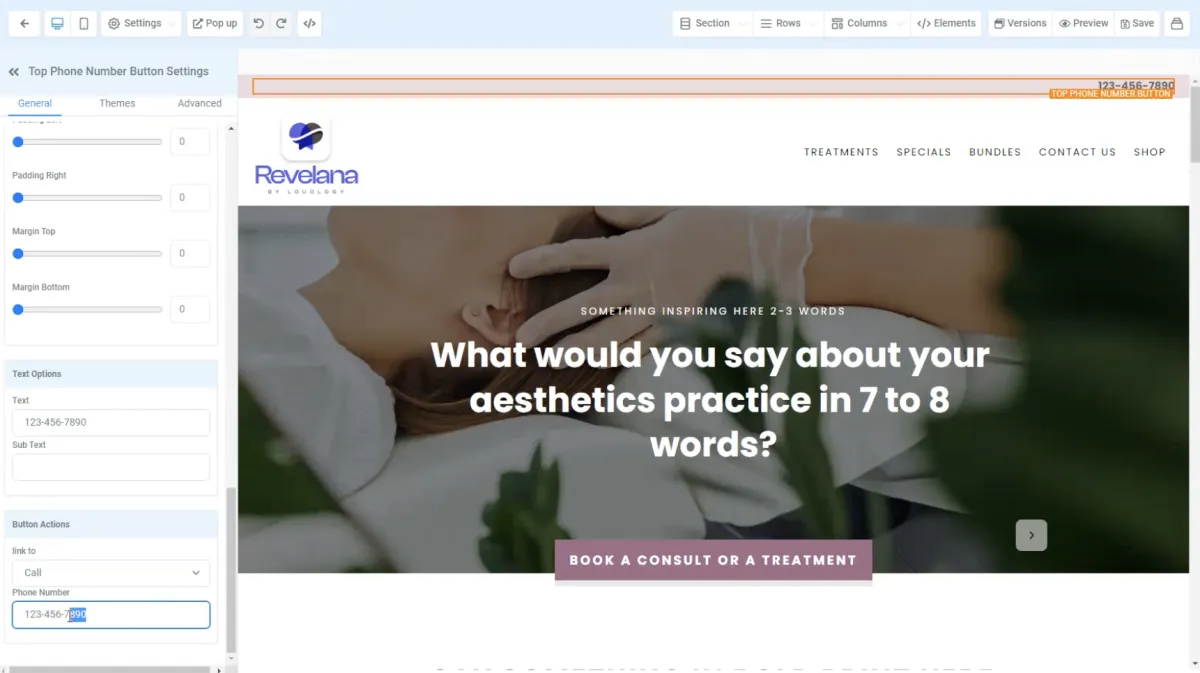
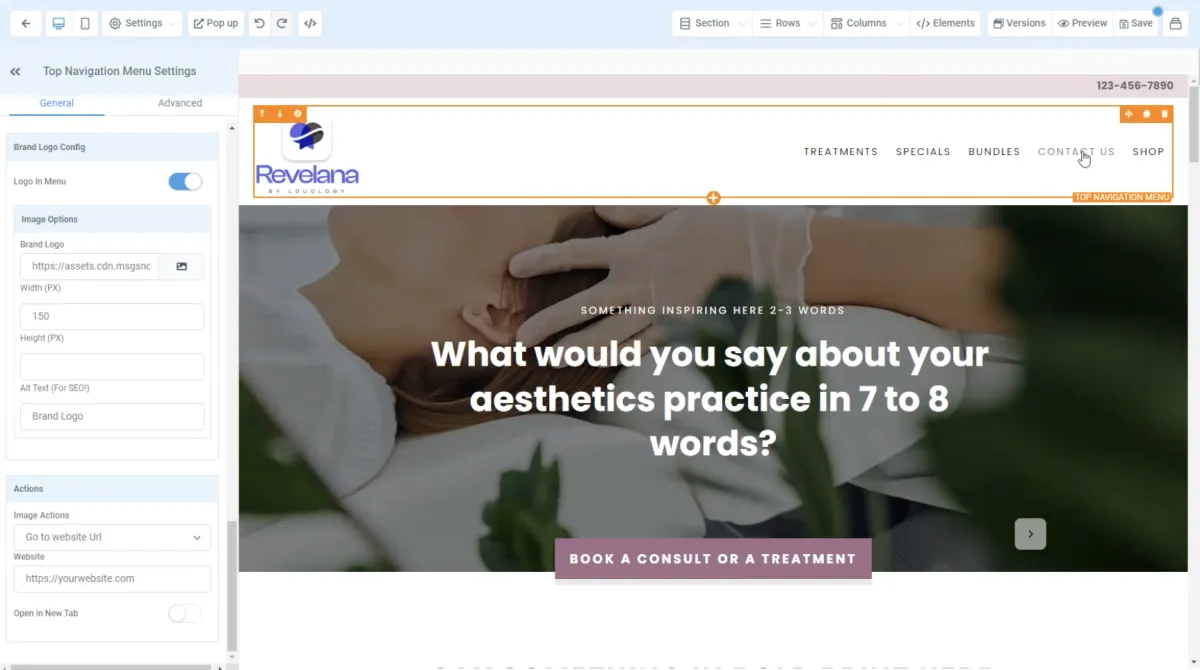
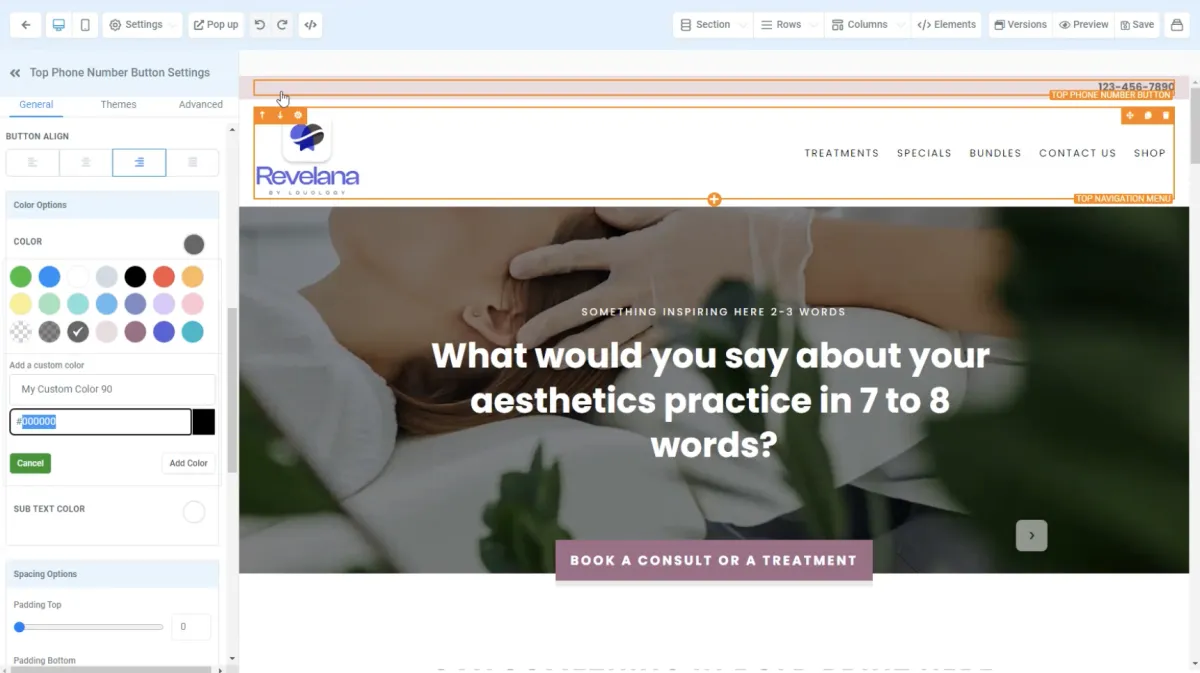
Step 3
Edit your Nav global section
The global nav is a section on your site that you will edit to match your site's branding.
Click on the top bar and edit your phone number. Make sure the link URL is set to your phone number as well in the settings bar on the left.
Update your logo and make sure you set the URL to your website homepage.
Edit the menu items if needed - if you don't have a shop, you can delete that menu item.
Step 4
Add your custom colors
Just like on the website builder, you're going to want to add your custom colors to the color palate. Hit the "Add a custom one" button to add the HEX number for your color! Here's a deeper dive on this.
Step 5
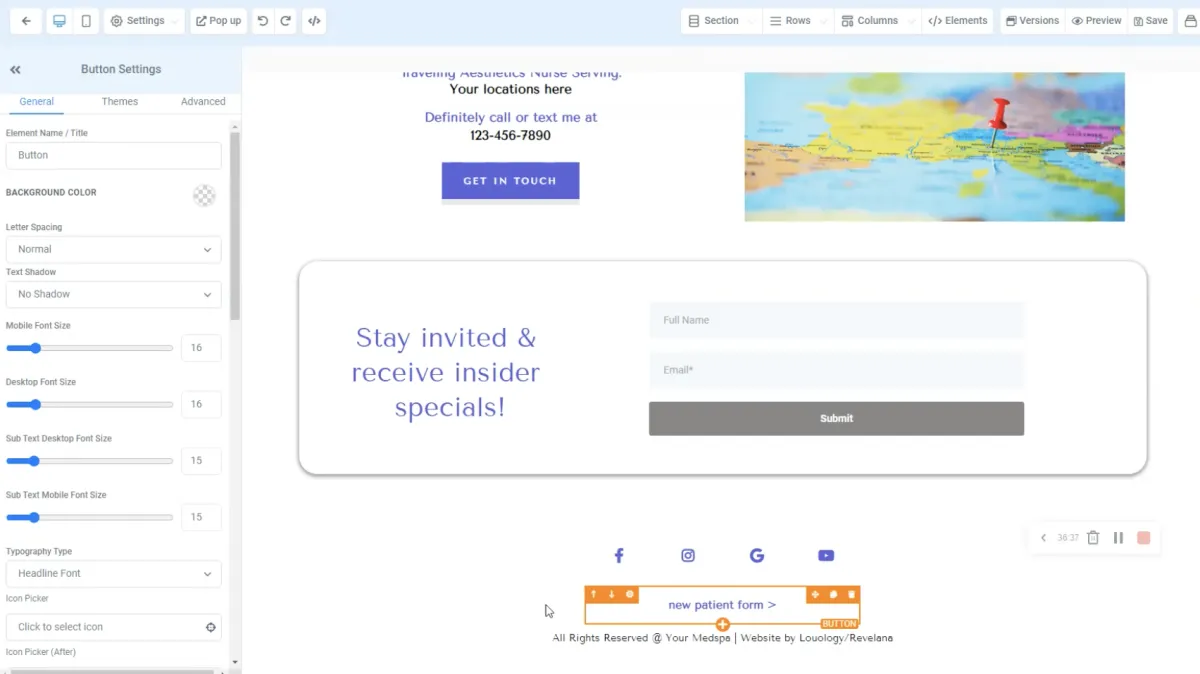
Edit your footer
You'll want to go into the footer global section and edit it so that it says the name of your medspa in the Copyright text.
You'll also want to update the URL of the new patient form to match the URL of your New Patient Form Funnel! You can go to that funnel under Sites > Funnels to get the link.
Step 6
Go through the website and edit the copy and images!
It's pretty drag and drop, but if you need additional guidance on how to use the website editor, watch the video above or go to this deep dive on the website editor elements.
Step 7
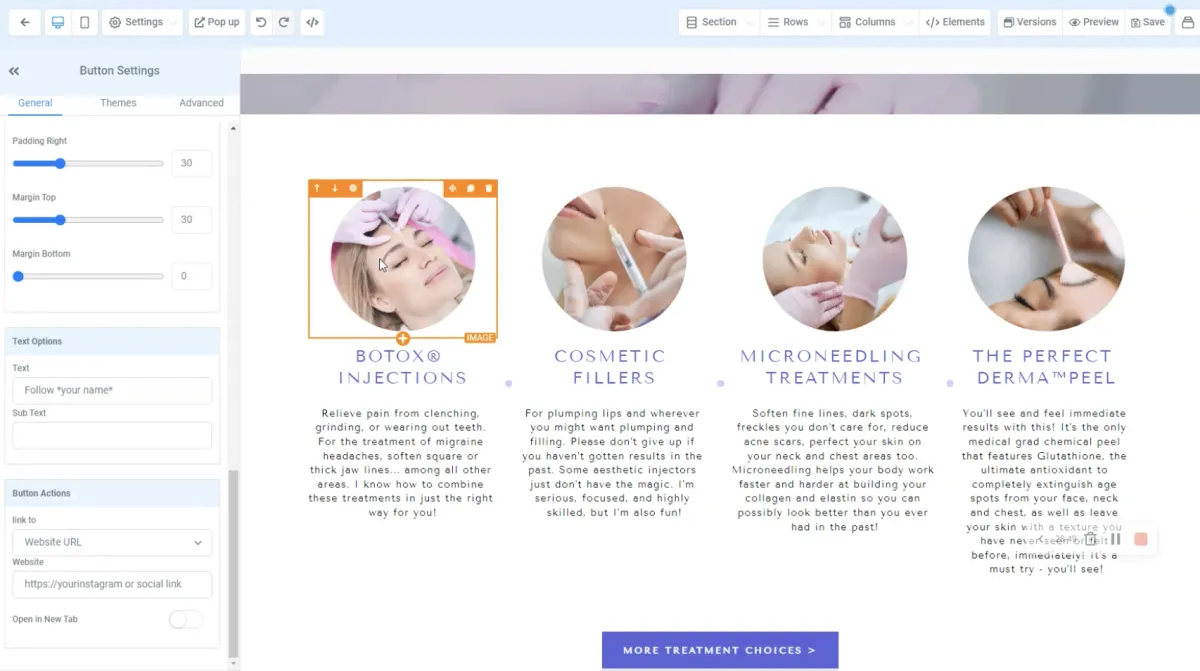
Change your treatments
In the treatments section on the homepage, you'll want to feature your top four services with a short description and an image for each. Note that the images should be square so the circle stays sized properly. You can upload custom images and icons in other areas of the site if you have something more in line with your brand.
Step 8
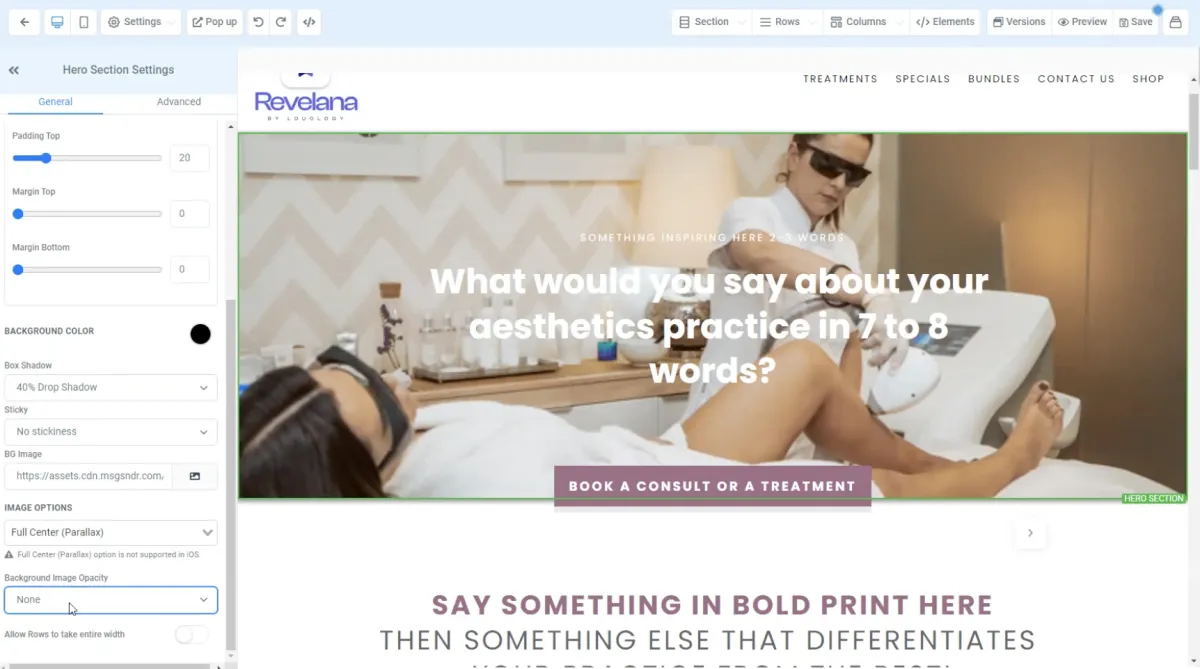
Changing background images
You can upload custom background images by selecting a section (make sure it has the green outline - that means you've selected the section) and updating the BG image. You can also add a color overlay here and edit the opacity.

Step 9
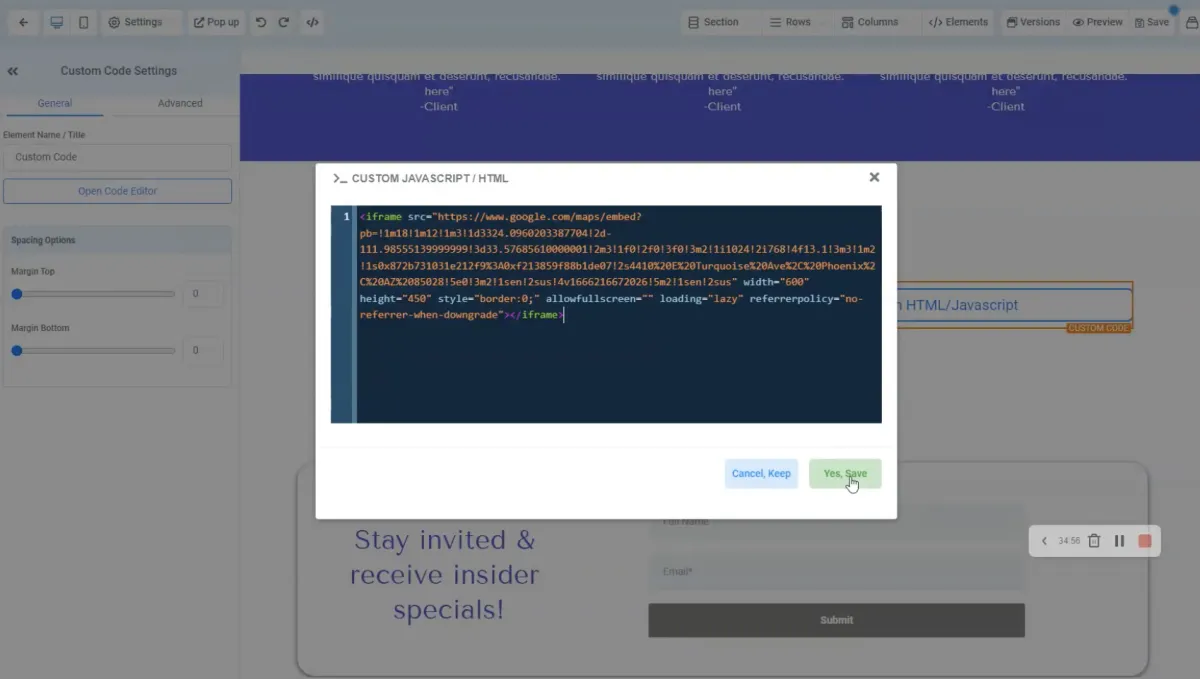
Add your Google Maps HTML code
If you have a mobile practice, this step doesn't apply. Go to google and search your address, hit "share" and get the HTML embed code, and paste it into the maps element in the contact global section. Please watch our video on editing this global section here!
Step 10
Connect your domain
Go to Settings in your website, and connect your domain to your site. If you haven't set up your domain on Revelana yet, here's how to do it! Connect the domain without the www. !
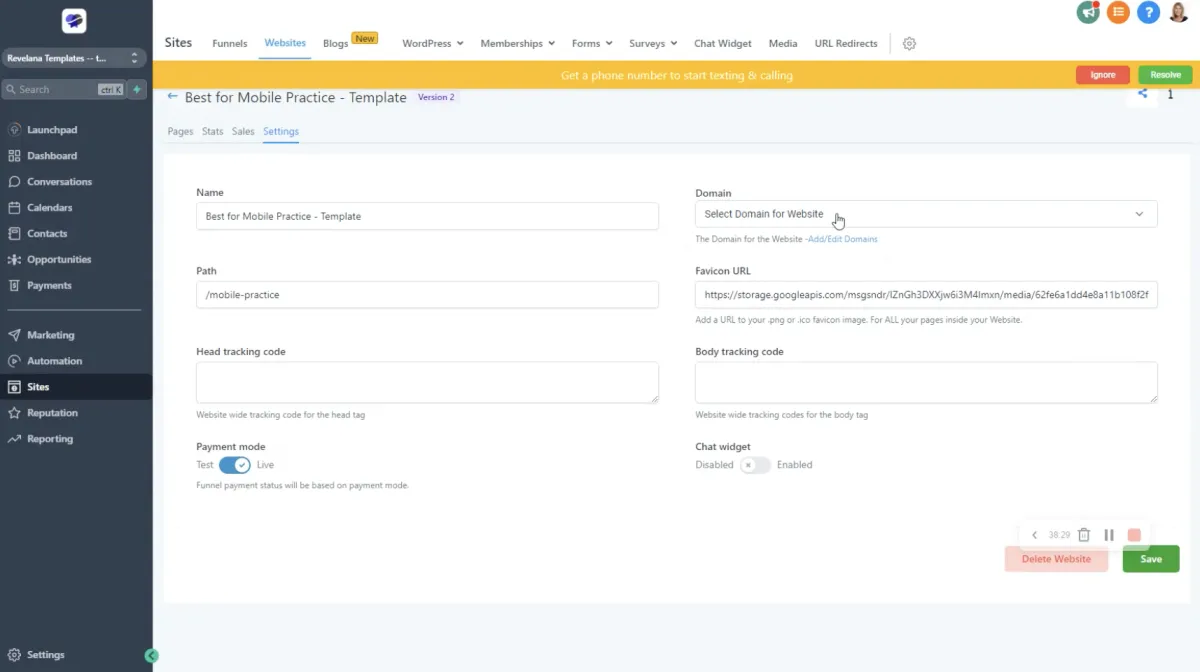
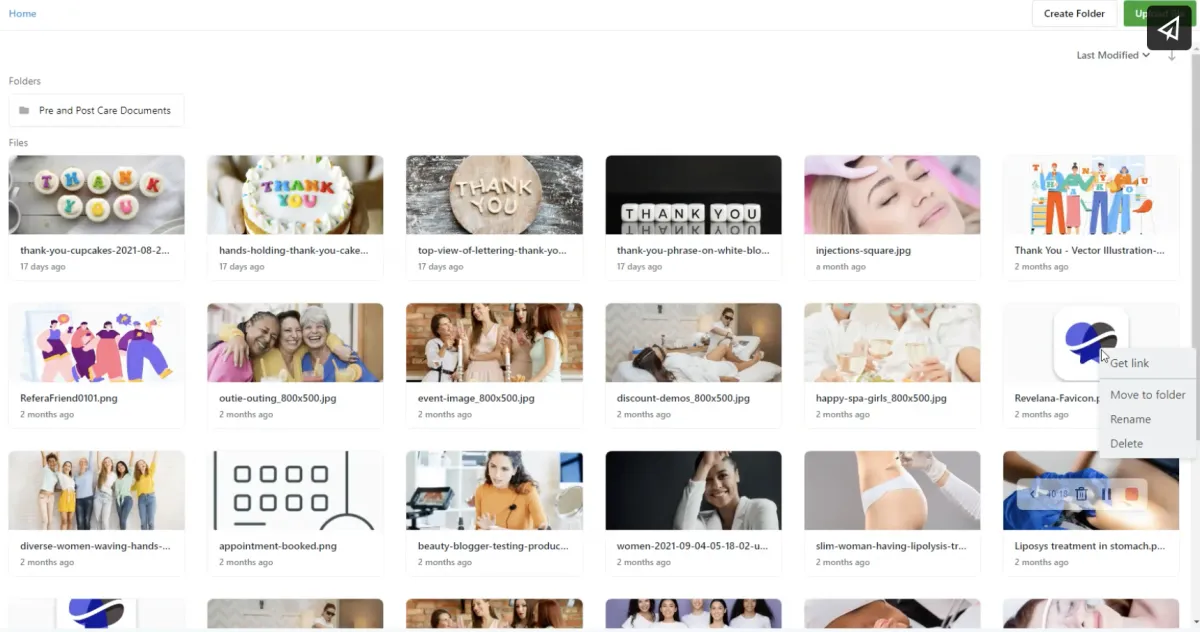
Step 11
Add your favicon
Go to the Media tab in the top bar of Revelana, upload your favicon image if you haven't yet, right click on the image and get the link to that image. Paste that link into the Favicon URL field.
Any more questions?
Go back to the full tutorial page, or please message us and ask!

Copyright Revelana by Louology 2022 - All Rights Reserved