
Basic Overview Of Website Editor Elements
STEP-BY-Step tutorial
Watch this video to see the basics on how to use the website editor, or follow the steps below!
Step 1
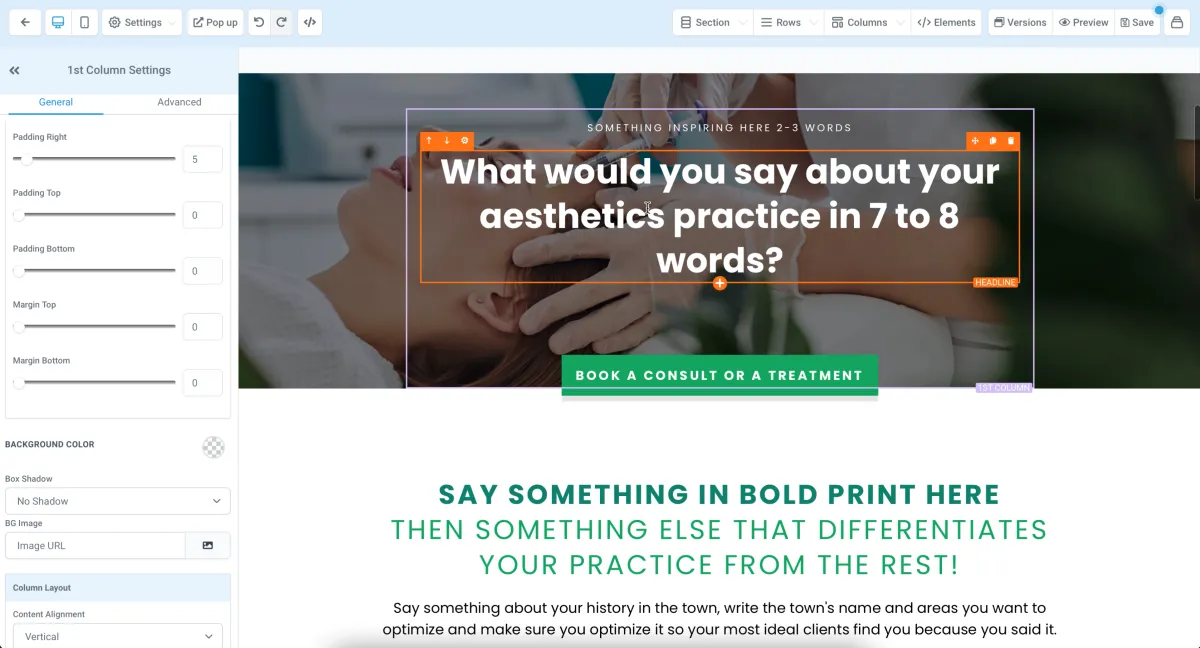
What is an element?
Elements are any item on your website page. These are what you see in the editor with the orange outline. Elements are nested in columns (purple outline), which is nested in a row (blue outline), which is nested in a section (green outline).
Step 2
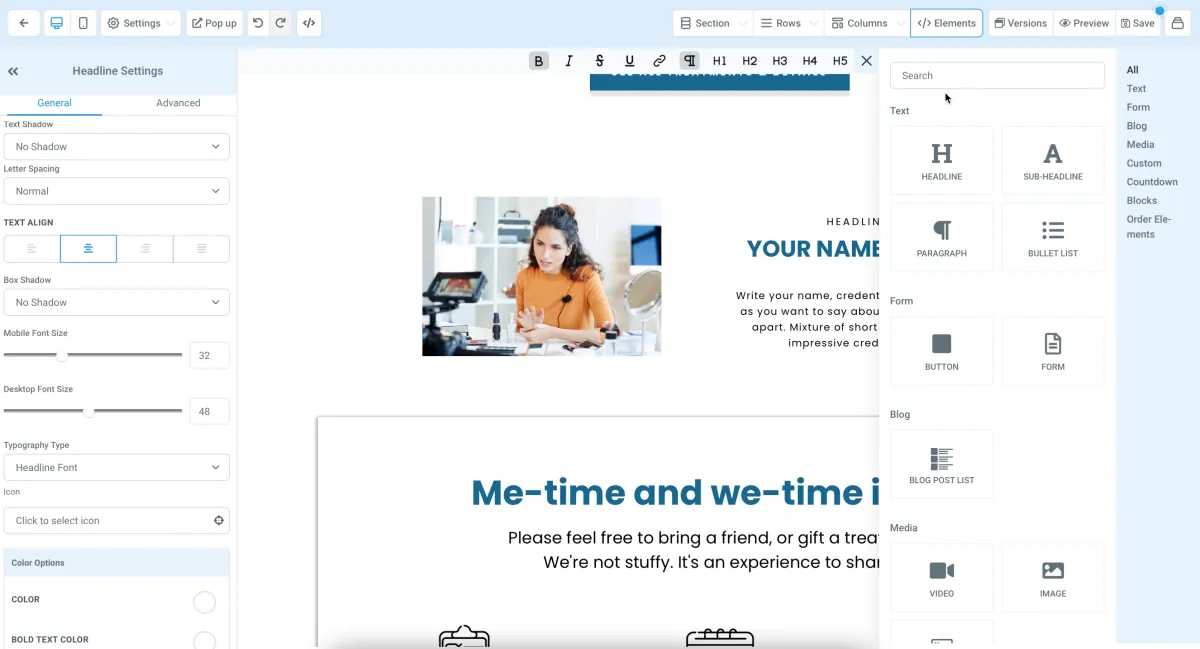
Adding elements
You can click on "Elements", "Add Element" to add an element to your page. You can also go to "Elements" and click "Manage" to see a list of all the elements currently on your page.
Step 3
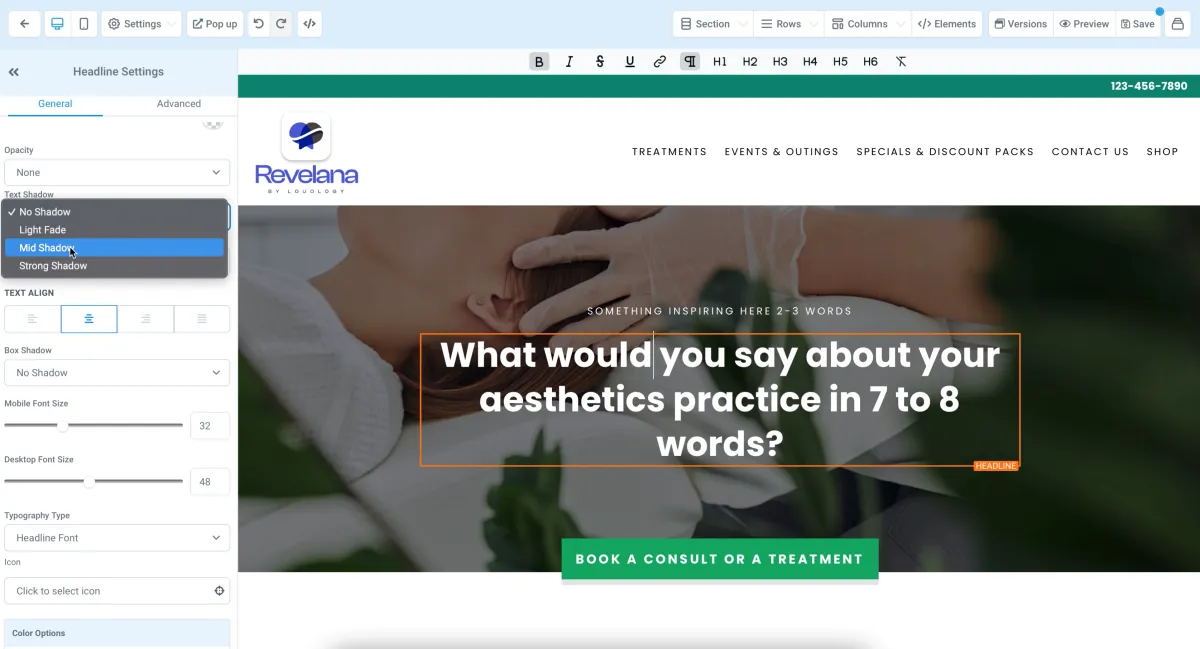
Editing an element
When you click on an element, the left sidebar will contain all of the settings for it. You can play around with these, including font style settings, spacing, and colors.
Step 4
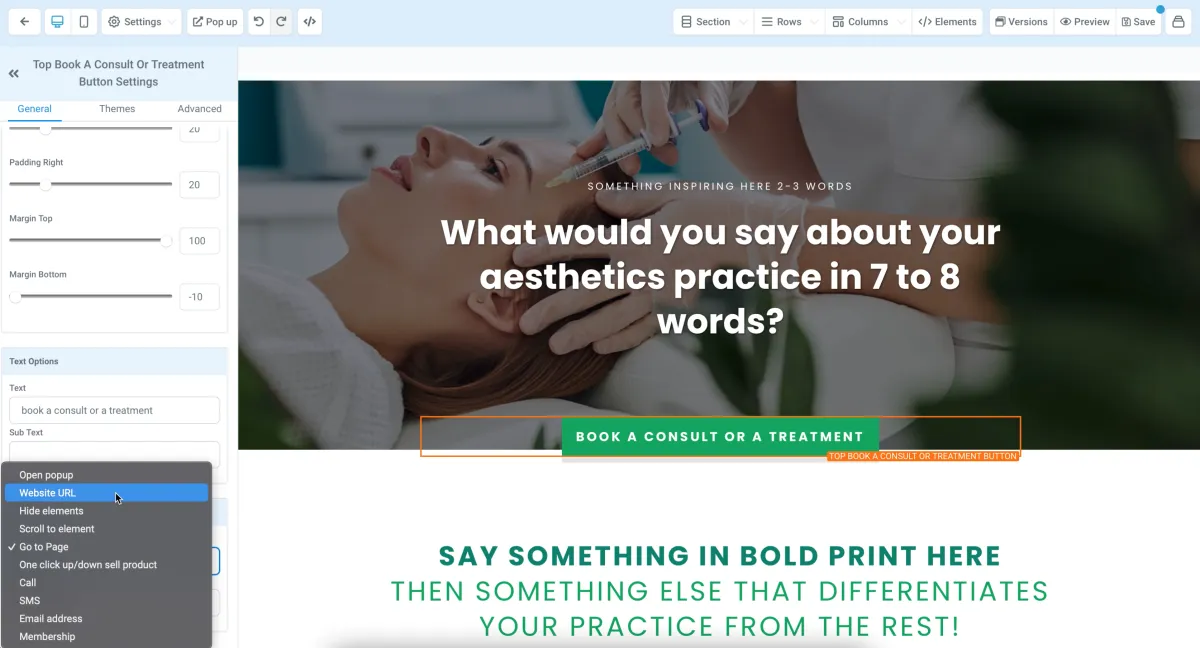
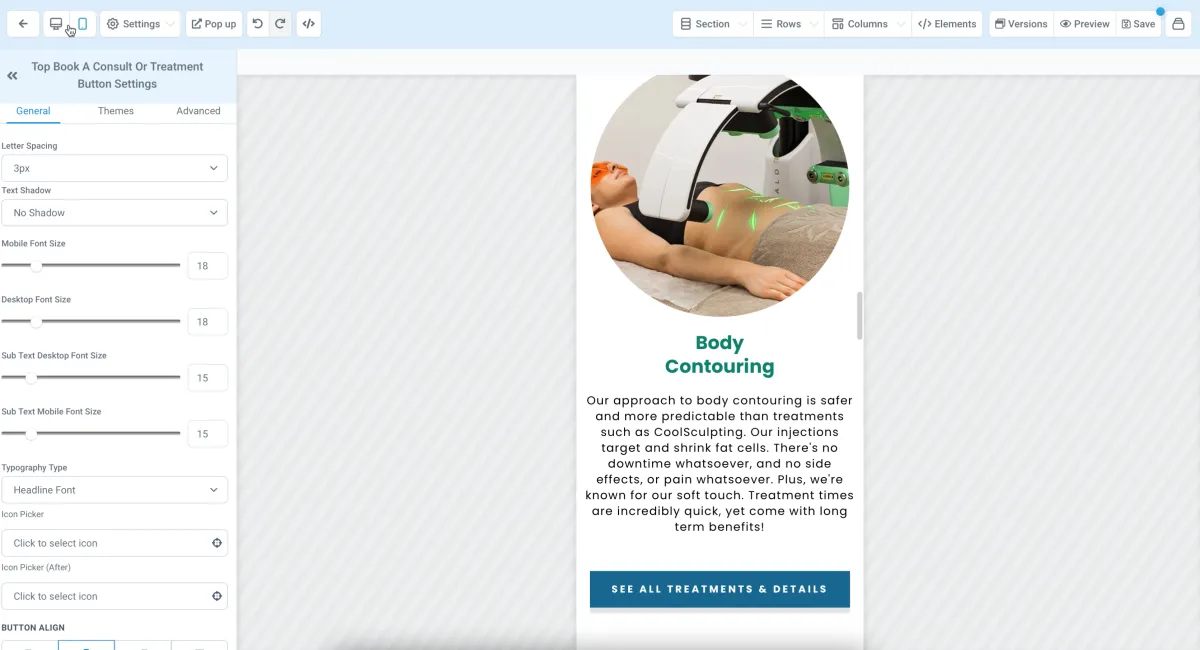
Editing button elements
Button elements can be edited in the settings sidebar, you'll definitely want to make sure your button is doing what you want it to. You can set the button actions, what the button says, and the styles here,
Step 5
Editing mobile view
If you click on the mobile phone icon in the top left corner, it will show you what your site looks like on mobile. Make sure you take a look at this and make sure everything looks how you want it to! You can change font sizes specifically for mobile on each element.
Step 6
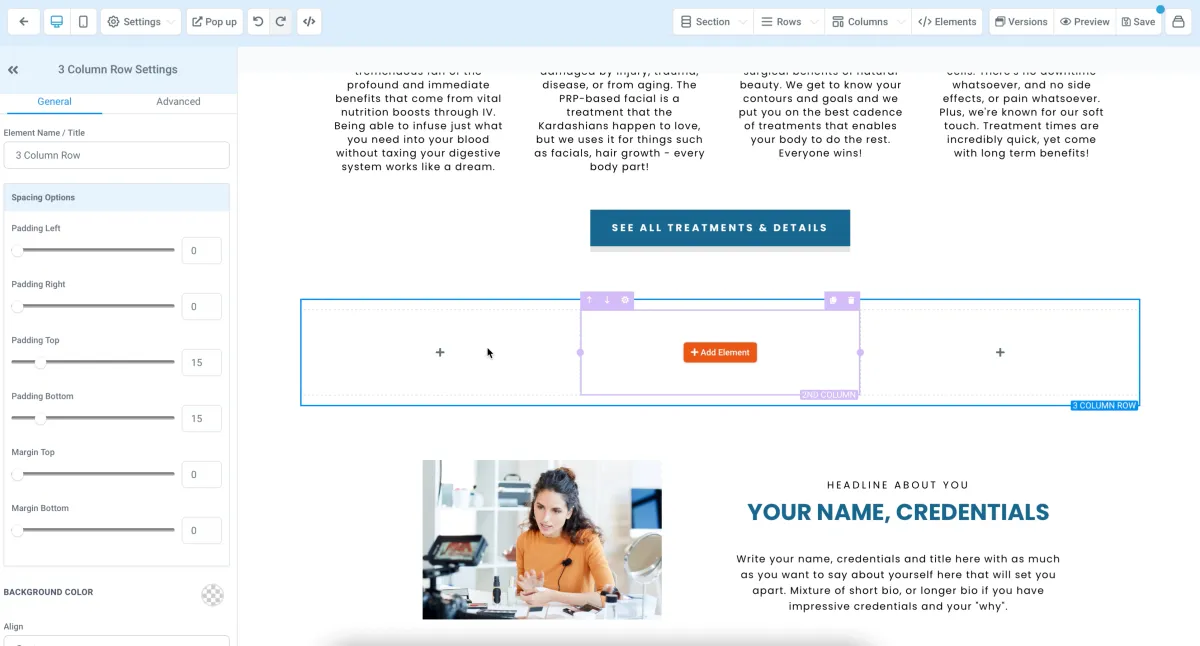
Adding sections, rows, columns and elements
Click on one of the buttons at the top to either add a section, row, column, or element. Remember they are all nested within each other in that order. You can add a section, and add a row to that section, specify how many columns are in that row, and add an element to that column.
Any more questions?
Go back to the full tutorial page, or please message us and ask!

Copyright Revelana by Louology 2023 - All Rights Reserved